Thursday, 2 August 2012

Veiled in Confusion

Variation on a Birdcage Veil

To veil or not to veil...? It's a question that I think every bride asks, even if its only for a few seconds to confirm her choice.
I remember when I was a teenager, being in the car with mum and driving past a wedding. Mum made a comment about the bride in a veil and Lorna (my sister) and I both said we wouldn't wear a veil when we got married, this slightly shocked my mum at the time, as for her a bride wears a veil.

Since I've been engaged I have known how I want my hair - down and curly with a homemade hairpiece or two, and I remained adamant I didn't want to wear one, right up to the point I started trying on dresses.


Then the world of veils was open up to me....
I knew there was a selection, but I would never have dreamed of the detailed terminology there is in the area.

Firstly what length do I want?
I knew I definitely didn't want a birdcage, having a traditional full length gown and a formal wedding, I knew it was not right for the occasion. I also think a shoulder length veil (especially a very poofy one) looks ridiculous on short girls, & I'm only 5'3"!
Likewise a veil that is as long as my dress (chapel, cathedral or regal) would not suit the small, intimate village church we had chosen.
This still left me with a host of length options from elbow to knew length. I have to admit to standing in a mirror with a tape measure trying to imagine what they would look like.

Clockwise from top left: Beautiful Birdcage Veil, Veil length Guide, Shoulder Length
Cathedral Length, Kate Middleton (my favourite)

Next, decision is material, trim and scatter...
Some veils come in a fine net, these tend to quite stiff, the thread thick and a honeycomb pattern to them. The other option is tulle; there is a choice of 'standard' or silk, some companies (especially in America) offer 'Bridal illusion' but I think that's just the non-silk tulle. In some cases you also have a choice of fine or firm...

Trim is how the veil is edged and there is a long list: from cut edge to lace or crystal, and scatter if the amount and spread of crystals across the material.
I have found the easiest way to understand the options is to look at a veil websites Wedding Veils Direct were very helpful.
L-R: 1) Lace Edge Veil 2) Coloured Ribbon edge 3) Crystal scatter 4) Pearl edge
3 Tiered Veil

Gather, blusher and tiers
These are the two elements that I find the easiest to understand.
Gather is simply how much the material is pulled together at the comb. The more gather the narrower it is at that point & the poofier the veil. There are 3 options: no gather, part or half gather and full gather.
The blusher is where the veil covers the face.
The tiers are how many layers, often different lengths down you back, of veil you would like.
If you have a blusher you will have a 2 tier (at least) veil, but you don't have to have a blusher if you want 2 or more tiers.


Just as I started to get my head around the choices, vintage styles began to become popular, Kate Moss and Lily Allen both wore beautiful 1920's Juliet cap designs; during the 1980's a variation had been popular, and were worn by my mum, future mother-in-law and my Aunty, which incorporated a solid hat or wide band with the veil attached.
I don't this the very loose version would suit me, nor the dress & wedding, but perhaps the 80's version would suit. Maybe I should try my mum's veil and see if I could wear that?

Kate Moss' beautiful boho Juliet cap veil
sourced here
Drop veil
Not the Bridezilla!

Shortly after I started looking into wedding dresses I saw an episode of Bridezillas, normally I'm not keen on their choice of outfit, but this bride was wearing a very simple veil that fell over her, no comb or gather. As I tried to describe it to mum i found myself saying 'imagine a child dressing as a ghost under a sheet, it sits like that'. I like this style, and its not dissimilar to the veil the Duchess of Cambridge wore, except she used a tiara to secure the tulle. While I'm trying to avoid 'Kate does Kate', I would be happy to heve her veil as it was stunning.

Off to research more options and seeing what would be within my budget.

TTFN ~ Kate xxx

Monday, 30 July 2012

Pages of Style #4: Scripted Scatter

Welcome drinks table with Confetti

One element I have already made for the wedding is confetti - one evening while Better Half was at work I settled for a quiet night in with chocolate, a good movie and a selection of different sized punches. I turned a whole copy of the Shakespeare play into heart shaped confetti, which I am now adding to with the off-cuts of handmade petal paper from the invitations.


There's plenty of ways of using paper confetti through out an event - it can my mixed with natural petals (I'm getting some from Shropshire Petals who have a fantastic selection) and used at the traditional moments, scattered by flower girls before the bride and for 'that' photo. How about to decorate tables? A more subtle approach is to only use it on addition spaces - the table you set up the welcome drinks on, around the guestbook or postbox for cards, even to line the edges of a flight of stairs with hurricane vases containing candles.

Dove Shaped Confetti

The obvious choice of shape is hearts, but there are endless options of punches: how about bird shapes of To Kill a Mockingbird? or a selection of different flower shapes? A Christmas Carol punches with holly leaves, stars and presents? Or Alice in Wonderland as rabbits, hats, cats, flowers, bottles etc? Not to mention butterflies, balloons and snowflakes, the list of possibilities goes on and can be adapted to any theme. Another way to mix it up is to use 2 or 3 different sizes of the same shape.

I love confetti as decoration, but sometimes I feel it's become over done. To mix it up and to add another dimension, you could make 3D elements to be accompanied by traditional 2D shapes. To make the butterflies below, I punched the shape from pages of Romeo & Juliet and coloured paper. I then folded the top shape long the two sides of the 'body', so the wings were lifted, adding PVA glue along the 'body', line the two shapes together and allow to dry. This looks great, especially when the book page alternates between the top and bottom layers.

These 3D shapes could also by glued to wire and used in flowers, or used as detail on your invites or menus.

3D Butterflies with colourful confetti


The 3 punches I have used: Woodward Mini,
Regular & Large

The best quality punches I have come across are from Woodware and are available in a selection of sizes Mini (1cm), through Regular (2cm) which would be the ideal size for confetti, all the way up to Super Duper (7.5cm). Many local craft stores and online retailers stock Woodware and the different sizes are colour-coded for ease.
Be careful not to use thick card or paper, as the pressure needed to make the shape can break the punch, I have already had to replace a punch as it can struggle with the handmade paper.


Confetti Cones
Another way to include your book of choice, without spending hours punching holes in the pages, is to make cones to hold rice-paper or petal confetti (remember to be kind to the environment, the metalic stuff doesn't decompose, can hurt wildlife and is a hassle to clean up). It it really easy: simply add glue of double sided tape along one edge of a page and roll until your desired shape.
As with all these ideas you can use any paper to make cones - a version I really like is to design and print a double sided square/rectangle, cut it out, (stain with a used teabag , if you want an aged effect) and roll as before. This way you can select your favourite quotes, use a variety of fonts and                                                                             each cone will look as good as the next.

I have to admit, I am really enjoying exploring what can be made from paper
Join me soon for more ideas.

TTFN ~ Kate xxx

Tuesday, 24 July 2012

Creating the Vision


***Spoiler Alert*** If you are a friend who will be at my wedding, and you want to keep the decoration/theme details a surprise, I advise that you do not read on***

As some of you may have already read, I have a soft spot (that's putting it mildly) for Shakespeare's 'A Midsummer Nights Dream', and I am striving to incorporate the whimsical, romantic feel of the fairies in the forest for the wedding.
As with all good plays and books everyone who has read MSND will have pictured the setting in different ways, some will visualise the fairies in metallic neutrals, others will visualize the settings in pastel tones, while at my old school the fairies were caught in a time-warp and with bright multi-coloured hippies of the 1960's.

For me the play conjures up images of three-quarter sized humanoids (gosh there's the Trekkie in me coming out) who easily blend into the flora of a forest clearing, I think of warm breezes through the short night, where flowers bloom creating a sensual smell as well a  beautiful setting for the romantic mischief that unfolds. I picture it in dusty pastels, natural greens and browns all with a silvery hue and blurred at the edges.
I think of the humans, drawn to a forest clearing, surrounded by dense but welcoming woodland. It creates a sense of playfulness while maintains a sense of occasion (with weddings and a fairy royal court, and Titania a fabulous queen)... it's fairytale Romance, in a non-traditional form.

It is a play that is set on a specific day, the shortest night, a time that (I think) will have always played on people's imagination; where our world and those hidden from view can come together.
So how do I draw on this imagery when our wedding is (almost) at the opposite side of the year?
I had two options: 1) I just go for it and try and create mid-summer in mid-winter or 2) I take the magical forest setting and imagine what it would be like in winter, how would it retain its magical, romantic aurora without the soft breezes and the flowering blooms?
I chose the second option - having chosen a winter date, I don't now want to plan a summer style wedding and hide from the beauty that can be found in the colder months.

So as well as this 'MSND in winter' concept there a few other things I would like to include in the decor/theme of our day:


Candles: I love them, they are welcoming and romantic and I find them very relaxing. If I could I would love big open fires, but due to the age and protected status of the Guildhall, this isn't possible.


Hands on: As well as my own passion for making things, I have very talented family and friends. For me it would have been silly to have a wedding and not do a lot of it myself, also it means I get to have an extra amount of control over details and ideas. This even extends to the service, which is being led by a colleague (I work for a church), where I hope to tweak a few elements.


Little waste: I'm going to be honest, I'm not as 'green' as I could be, but when it comes to a day of lavish expense, I want it to cost as little as it can to the planet (and hopefully to our wallets too). Where possible I want to use 'pre-loved' (the charity shops in town see me at least twice a week), recycled, loaned and bargain items. I want a plan for most of the decorations at the end of the day.


Reflecting the nature outside: rather than lots of flowers and out-of-season decorations, I really want to embrace the season.  We are stepping clear of anything Christmassy, no trees or holly, and I didn't feel a winter wonderland of ice blues and silver would create the earthy welcoming feel I was captured by when thinking of MSND.
Instead I wanted the earthiness of evergreens, the softness of landscape touched with frost and the warmth from stepping through a welcoming door.


So here is the question I was left with: How do I include all these elements to create a elegant and formal wedding setting while also ensuring that it isn't different for the sake of being different? (nothing wrong with different or quirky weddings, it just wouldn't reflect our tastes or personalities)

My solution is TEXTURE.
Rather than building up colour, I will use different plants, materials and resources to create decoration. It will still feel 'weddingy' and hopefully it will take people a few minutes to notice that there are few flowers.
As well as the paper decorations (please see my 'Pages of Style' series for more details), I have metal, hessian, ribbon and lace all playing a role, with the main features coming from candles and evergreens.
Bucket Pew End


Candles will be placed in the church windows and at the center of each reception table, all hopefully mounted of a slice of tree trunk. Tea lights will also adorn the pillars and decorate any ledge or surface I can reach.
For the pewends, an evergreen will be planted in a metal bucket, wrapped with a band of hessian and tied to the pew. Rather than altar flowers I want a collection of jars with tea lights to line the table and possibly willow twigs at the side.

Rose & Thistle Buttonhole


I do want amazing, but simple, flowers for bouquets, buttonholes and to add more texture on the (12!!) tables at the reception, and I am very lucky that I have a wonderful friend who's a florist who I can trust to do an amazing job. I have yet to meet with her but I would like to include white Roses, Thistles (BH is half Scottish and supports Scottish Rugby) and Ivy. I also have to have a sprig from a Myrtle plant my Grandma has grown (not entirely sure why I have to copy the Royal brides on this one), and as she will have spent the year tending to my growing pewend plants, I am happy to oblige in her request.


A few months ago I shared with you some of the details for the stationary, as well as the special fonts and the purple shade (chosen to reflect the thistles) I will also be incorporating the hessian and ribbon into the Invites, Order of Service and table settings. To build on the texture, we have chosen laid card, which we be using for all elements, and a soft metallic white card to add accent.

I hope you have enjoyed this whistle stop tour of my creative thinking for the details of the theme and decoration at the wedding. I am the first to admit my vision started in a slightly crazy place, but I have to say I am really beginning to love some of the ideas as the evolve into reality.

Back to turning book pages into decorations...

TTFN ~ Kate xx

Tuesday, 17 July 2012

Pages of Style #3: creating the blooms

My first 'Book in Bloom'


After some playing around I have managed to make a paper rose! and I thought I would share how I did it as well as another method to create flowers from old books.
(I have used Romeo & Juliet to keep my chosen Shakespeare play a secret)


Materials:
4x pages of a book/play 
1x glue gun & spare glue stick
scissors
2x bamboo sticks/skewers 
small pearl bead (optional)
tweezers or extra skewers (to assist with placing petals as glue get hot)

Firstly you need to cut your petals...
I found the easiest way to get the right amount of petals is to lay the 4 pages on top of each other and then cut 5 sizes of petals.
The smallest shape was about 2cm x 3cm while the largest was 4cm x 6cm
You will also need an elongated shape for the center (3cm x 2cm) and four small strips of paper (5cm x 1cm)


To shape the petals I use one of the skewers/sticks to roll the edge of the shape, I would vary where the curve was placed (in the center, a little on each side etc..). You than need to pinch the base of the shape, this will help the flower form a bowl shape as the petals won't sit flat on each other.

Curling around a skewer gives
 definition
The finished petal
Pinch the base of the petal, creating
a central fold 
Finished petals
Spiral at the center

Once you have shaped all the petals, its is time to assemble your bloom.
Starting with the short long piece we cut (but do not need to shape) place a line of glue along the bottom and twist it around a wooden skewer, creating a small spiral.


From now on its all about layering the petals - starting with the smallest shapes, glue the along the bottom and ensure each petal slightly over laps the previous one.

Take you time, and be careful as the glue can be very hot. Also allow each petal a few seconds before you add the next, to give the glue a moment to set and prevent the shape being moved.
As you build up the rose, you may find that also putting some glue along the fold (to about one 3rd along) will hold the petal in place a little more sturdily.


Place 2 of the rectangles either side
of the skewer
Add the other 2 rectangles at right
-angles
When you have finished layering you need to secure the base, to hold the bottom petals in place and prevent the flower from slipping down the skewer. Simply glue the four strips you cut, creating a square shape. Hold the rose upside down for about 5 minutes to allow the glue to dry, and again to prevent the shape shifting and dropping.

Pearl detail

For a final flourish, make a diagonal cut to the central spiral, add a drop of glue and place a (pearl) bead into the hole (width of the skewer)

I also wanted to share a method to make cute, small roses, that I discovered online


So there you have it, my attempt at turning Shakespeare's words into floral decorations - I have to say I LOVE them and now I just need to figure out how I can include them into my day, without it looking too much like a children's craft project exploded over the church.

Coming soon in 'Pages of Style': wreaths, confetti and bunting.

TTFN ~ Kate xx


Thursday, 5 July 2012

Pages of Style #2: Books in Bloom

Welcome to the first post looking at ways that I can turn pages from a Shakespeare play into beautiful decorations for me, and hopefully also inspire some of my wonderful reads to give paper crafting a go.


When I began the search for what I could do with old copies of the comedy, the first idea I came across was  to turn the pages into flowers; they offer a great range of options, especially as they would be suitable for both ceremony and reception.

Paper rose
made with individual petals
Clockwise from top right: 1) Carnation,
2)Big orchid style flower, 3) Lilies, 4) Tulips,
5) Daisy with buttons, 6) Little flowers with bead
7) Cone flowers

There are plenty of options if you want to include paper flowers in a wedding,
An early decision would be what type of flower you want to create; Do you want a real looking design or opt for a more styled choice? Are they going to take the place of all flowers, contrast or mirror you living choices? It is also worth considering how big you want your flowers: life-sized, mini, over sized or a mixture?

There are plenty of ideas and types of flowers online:
Roses, tulips, lilies,carnations, daisies, orchids - a bit of time and you can find a way to recreate most flowers.

You also need to consider available time and artistic ability, different styles and sizes would involve different techniques.


Roses
I really want to include roses during my wedding and I have discovered that there are 3 basic ways to create a rose from paper: By cutting and gluing individual petals, cutting and gluing a circular spiral and origami.
My handmade rose gift box.

A few weeks ago I wanted to make a rose as a decoration as part of a gift for a friend. At first I tried origami and I discovered a new level of confused.
I then tried the individual petal technique, with which I did succeed and was rather impressed with the result.
This rose was made from white printer paper, which I then painted with a creamy/white paint and sprinkled with glitter. I finished it with a couple of leaves made from glitter paper with a green tinge.

Alternative ways to make paper roses:
 1) Swirly Rose made from a continuous piece of paper. 2) Origami Rose
How to include paper flowers
 As I'm getting married in winter the paper option is quite appealing as it could save lots of money on out of season flowers, although I will have to careful as they can be very time consuming to make. There are many ways which paper flowers can be included during a wedding; from the traditional floral displays: on tables in the reception, pew ends, windowsills, on the altar or arch over the door in the church and as personal flowers in bouquets, buttonhole or even in the brides or bridesmaids hair. You could give them to guest as part of their place settings, as favors. 


Ways to include paper flowers: 1) Floral decoration in vase, 2) Colourful bouquet of mixed flowers,
3) Book table center with Rose and Lily, 4) Gift boxes decorated with various paper flowers

Paper rose decoration ideas: 1) Rose button hole 2) Rose hairclip 3) beautiful bouquet 4) personalised gift bags

Stylised Rose using a mix of papers
For my final pictures, I wanted to share with you two twists on the book page rose:  A beautiful fluffy rose with jewel center, made from books, sheet music, plain and decorated paper - I could see this making a lovely alternative corsage for Mum/sisters or as a hair piece for a bride or bridesmaid.
Colour stained Roses


The second being these stunning coloured roses, I assume they have simply run the cut edges over an ink pad to create the stain and then
assembled the rose as normal.

I have to say I have found this post blooming marvelous (groan...) to research and compose - there are so many beautiful creations and ideas out there, for the style of flower and their uses; I could have continued on for days.


I guess my task now is to go away and have a go, I want to try and make some big (ish) roses from book pages to see how they turn out - I will share my results and maybe my method (if it's successful) with you soon.

TTFN ~ Kate xx


Monday, 2 July 2012

Pages of Style #1: Including the Bard


Once Better Half and I had chosen our date and venue I knew I wanted to include in some way one of Shakespeare's work.

Since Midsummer Nights Dream caught my imagination when I studdied it at school I have loved the alternative world he created and have since enjoyed many more of his plays. I have to confess that I like to describe the style for our wedding as 'The enchanted forest from MSND in the middle of winter', however the very fact that we are getting married in January has led me, instead, to steer towards a differnt work.
 Another reason for the inclusion of his work is that the Bard is said to have performed in the Guildhall.

While I have already selected some quotes we could include on the order of service and a possible reading for the ceremony. I also want to include the text physically, by making decoration from copies of the play.

If you have spent any time on wedding or craft selling sites like Etsy will have seen the beautiful creations from pages of old books. I realise that for some people the idea of cutting up books and creating decorations out of them would be disrespectful and close to sacrilegious, however I do not hold to this philosophy and simply see stunning oportunities for hand crafted decorations for the wedding.
Before I got carried away I did check with BH half that he liked the designs I was considering and that he was comfortable with me cutting up old books.


Over the next few weeks I will share some of the fabulous ideas I have come across as well as some of my own creations - I hope you will enjoy the journey and share your own ideas and share your thoughts.

TTFN ~ Kate xx

PS I leave you with the face of Shakespeare from St Mary's Guildhall, Coventry. What do you think he would make of weddings today and using his work as inspiration?

Friday, 25 May 2012

Birthday Party in a box

Box ready for brown paper wrapping & note to Bro-in-law
In the last few months both my wonderful Better Half and my brother in-law have celebrated the big (to me) 30! While my man was able to take the day off, my fab soldier Bro-in-law was busy at work on a tour of duty.

Being a big kid at heart I decided to make & send him a 'Birthday Party in a Box': trying to include all the classics from childhood parties, I thought it would be a fun way to celebrate with some friends out there. In the end it took 3 boxes and a silly pressie wrapped separately.

I thought I'd share with you my silly idea, what was included and how I did it.

Box  Contents:
Party hats for everyone + a Pirate Captain's hat for the special boy
Pirate cups, napkins, Balloons & loot bags
Jelly (ready made in pots)
Crisps, Sugary biscuits & savoury snacks
Prizes for pass the parcel
Pin the tail on the Donkey
Bubbles & noise makers
Pepperami (instead of mini sausages)
30 birthday cake & candles in the shape of numbers '3'&'0'


Goodie bag contents: 
Keeping in mind that these are going to a) grown men and b) men who are doing a job in a difficult circumstances, their loot bags contained:
Hot chocolate
Cup-a-soup (white packet)
Spinner & noise maker
Pen
Sweets
Pepperami

Pass the Parcel
A Party must have! I chose some water balls (they soak up water for fights) and classic mini bags of Haribo for between the layers.
There was enough layers for each of the 8 players to get a go and then the prize in the centre. Each layer was different to the one before to prevent the lads getting confused.


Packing the Boxes:
To qualify for the free post to BFPO addresses the boxes can't be any bigger that a shoe box & have a max weight of 2kg. So my first task was to locate the boxes, I had 1 shoe box lying around and then discovered that (Diet) Coke x12 boxes would be about the right size.

I tried to 'theme' each box: The shoe box had all the elements that make it a party, the hats, goodie bags, pin the tail on the donkey and the cake & cables etc....
Box 2 was filled with food, the snacks, jellies etc
and Box 3 had the pass-the-parcel and crisps.

After I had stuffed them came the tricky part - securing the boxes so everything stayed inside, I used an entire role of clear parcel tape to secure the boxes.
Covered in tape
Box 3 ready to go
Box 3 wrapped


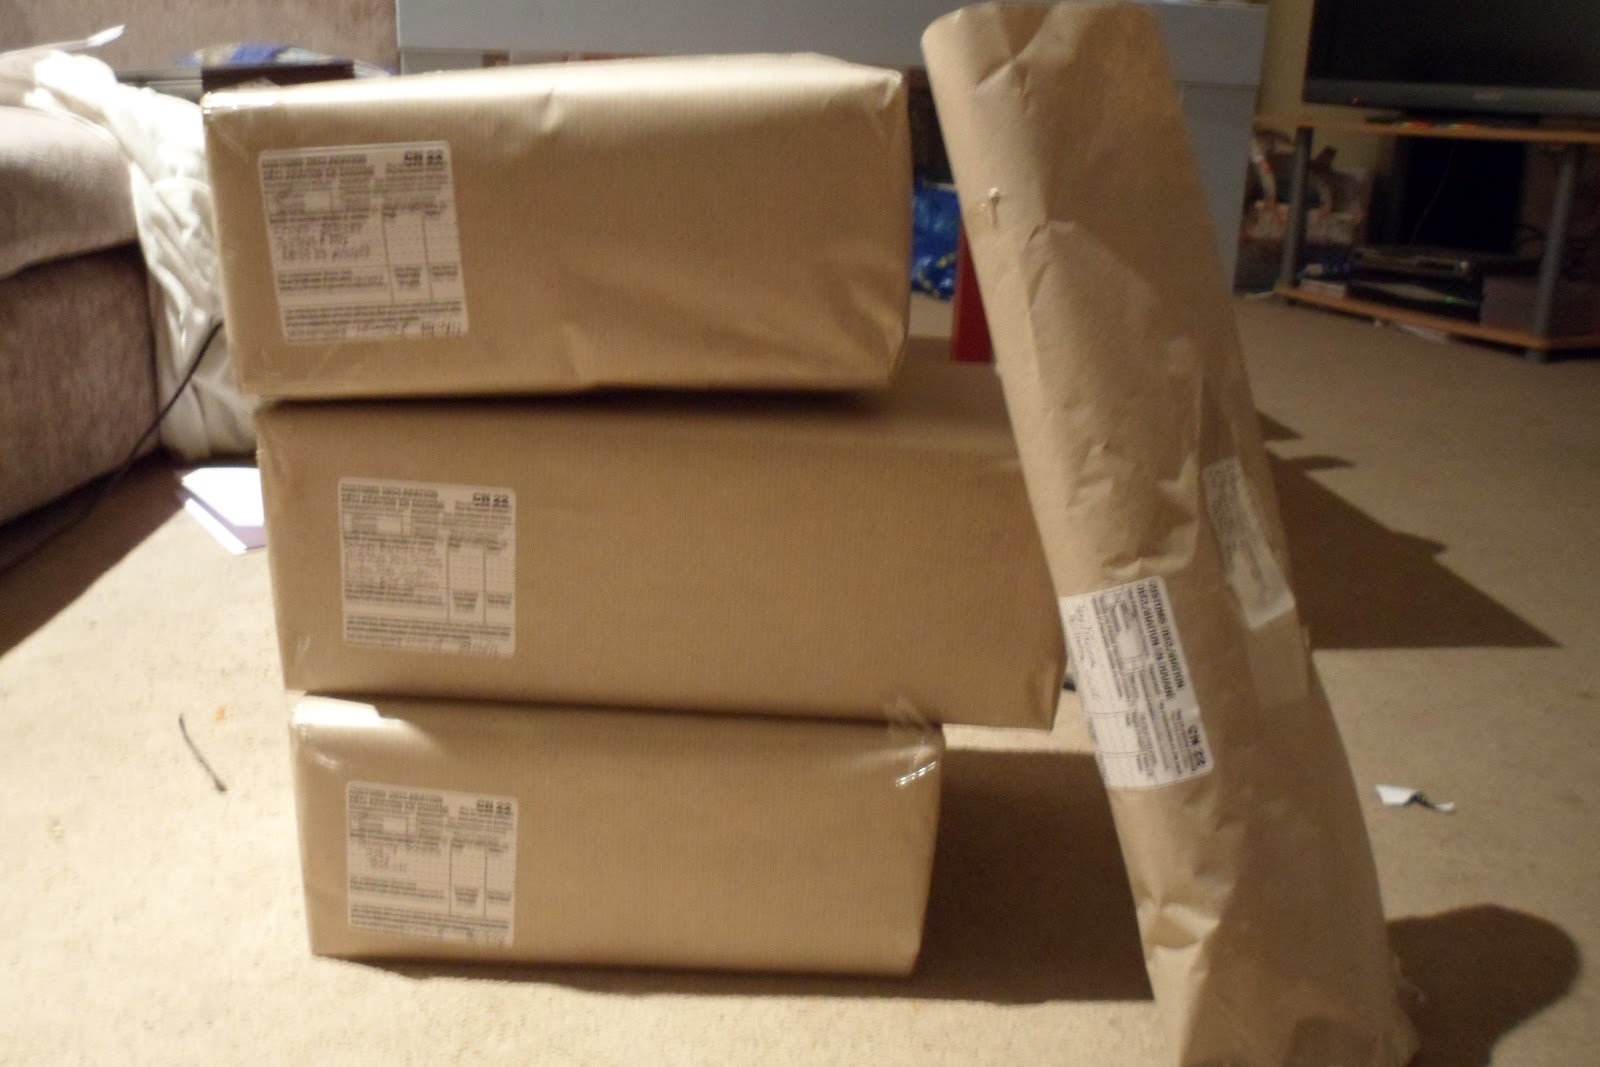
Then I wrapped them in party paper, labelled them asking that they are opened at the same time (BiL has habit of just opening things as soon as he gets them), added a note to box 1, wrapped them in brown parcel paper, labelled them & filled in a customs sticker.
Thankfully each box was under the 2kg! (yes I weighed them!)


Last touch & Posting
Finally: We have a tradition in our family that you should always have something to open on 'the day',we had also contributed to an ipad, so we sent him his card & a mini-cricket set as his present (odd shaped item on the top of the right).

My better half had to take the boxes with him to work as I don't have a car. But he did report that he sent them safely and with 10days to get to the birthday boy.

I just hope he enjoyed the party!!!

TTFN ~ xxx