Showing posts with label Flowers. Show all posts

Tuesday, 4 September 2012

Flowers Finalised

ButtonholeHair wreath,
BouquetTable Wreath
Corsage on bag.
While I was at my parents for a few days, I finally managed to meet up with my friend Fay, who is a talented florist and who is kindly doing my flowers for the wedding.

What I love about having a friend do the flowers for you is that you can discuss the details over a cup of tea and a giggle.
Fay's known me for years, so as I sat there explaining the theme and the look I'm going for, she could follow me and begin to picture what I'm after.

I knew exactly what 'items' I would like her to create and, even though I am doing the church decoration, there was quite a list:

1x buttonhole for groom, using both flowers.
4x buttonholes for grooms family, Best man and Ushers, using one type of flower
4x buttonholes for my family and friend, using the other flower
4x girlie buttonholes for 'team Bride'
3x corsages for Mums and BH sister
2x hair pieces for bridesmaids
2x flowers to carry for bridesmaids
1x bouquet for me
12x table centers
decoration for around cake
20+x sprigs for the choir
and possibly 4 small vases for around reception

The thing I love about Fay is that she has known me for years, so she very quickly caught my vision for the look of the day of a magical/fairy tale woodland. I was also able to show her the plant my Grandma's been growing for use at the wedding and tell her exactly what flowers I would like - thankfully she agreed that it would all work well together and would be in keeping with the 'theme'

TTFN ~ Kate xx

Wednesday, 22 August 2012

Pages of Style #5: Wonderful Wreaths

Glitter edged leaf wreath
As I'm getting married just after the festive season, I have been wondering about including wreaths into the decor. At first I was looking at fairly classical ways to create them; from flowers, ever greens and simple branches to fabric - there is a Swedish tradition of making wreaths at Christmas by gluing squares of fabric into a foam mold, or you can simply tie lengths of material onto a metal coat hanger fashioned into a loop. And of course there was the stunning brightly coloured wreath made from baubles that I included in my seasonal themes post.
However, when I started to look at options to use my Shakespeare play I cam across a wide variety of possibilities for styles of wreath.


Wonderful paper wreaths: 1) Frilled paper wreath 2) Red & Pink Paper Chain Wreath 3)  Big Beautiful Blooms
5) Wreath made from paper cones 6) Wrapped wreath with flowers 7) Bright flowers 8) Lovely leaves
Beautiful paper rose wreath

What ever venue you are using a wreath is a beautiful way to decorate; they will fill empty space, provide a warm welcome if you have a sign in the center or create a focal point.You or a flower girl could even carry one as an alternative to a bouquet.

Its currently quite fashionable to create a backdrop for the exchange of vows, which could be done my making several wreaths (if book pages don't fit with your theme, why not make them in different colours) and then hang them at different heights along the wall.


Uses for wreaths: Hair circletpompom wreath as chair decorations,
pew endswreath of scrolls on a door to welcome guests, and room decoration
I would also like to add that I currently love Oxfam bookshops, recently visited the one in Winchester and purchased 4 copies of the Shakespeare play, I always know how much a copy will be and they had a fab range of copies and therefore fonts & layouts to choose from.

TTFN ~ Kate xx

Saturday, 18 August 2012

3 Witches of Warwickshire

I thought I'd share a funny moment in my wedding planning:

Last Monday I went with my Mum and very good friend, Naomi, to source some twisted willow for the wedding. I had found Wroots online and as they weren't too far from my parents we set off to look at and purchase some sprigs.
No one thought that it would be sensible to take the larger car (my dad's) for this errand, so off we went in my mums small Honda.

We managed to get lost finding the exact address - even though we had driven past it 4 times!

5 bundles of 6foot & 2 bundles of 4 foot willow twigs and lots off giggle later we all piled into the car!

The car was long enough (just!)
My Mum couldn't look left at the junctions but other than that we were fine.....
When Better Half saw these photos he said we looked like 3 witches whose broom had broken down and decided to use the car. Charming!

I don't think I have laughed so hard my sides hurt for several years - was definitely worth the hassle as the willow is beautiful.

I just want to say that the guy at Wroots was amazing, didn't snigger once! Patently gave us directions, put up with my 'thinking out loud' and even helped us load the twigs into the car. The willow is fantastic value too.

TTFN ~ Kate xx

Tuesday, 17 July 2012

Pages of Style #3: creating the blooms

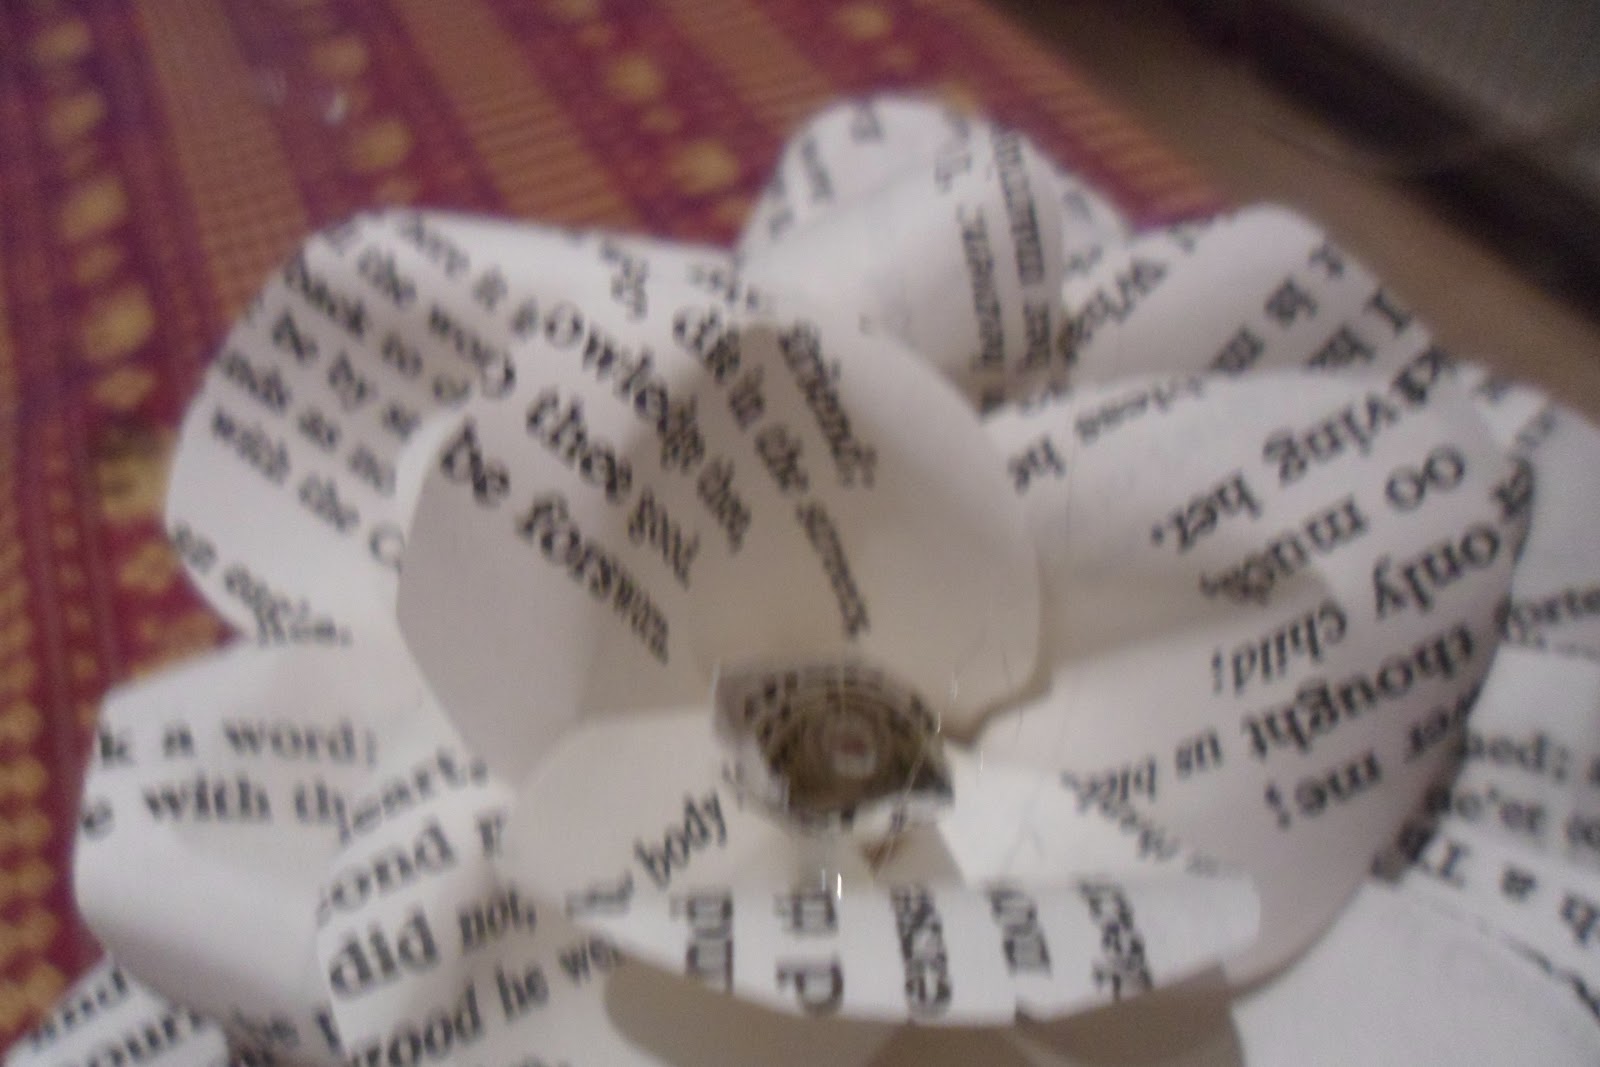
My first 'Book in Bloom'


After some playing around I have managed to make a paper rose! and I thought I would share how I did it as well as another method to create flowers from old books.
(I have used Romeo & Juliet to keep my chosen Shakespeare play a secret)


Materials:
4x pages of a book/play 
1x glue gun & spare glue stick
scissors
2x bamboo sticks/skewers 
small pearl bead (optional)
tweezers or extra skewers (to assist with placing petals as glue get hot)

Firstly you need to cut your petals...
I found the easiest way to get the right amount of petals is to lay the 4 pages on top of each other and then cut 5 sizes of petals.
The smallest shape was about 2cm x 3cm while the largest was 4cm x 6cm
You will also need an elongated shape for the center (3cm x 2cm) and four small strips of paper (5cm x 1cm)


To shape the petals I use one of the skewers/sticks to roll the edge of the shape, I would vary where the curve was placed (in the center, a little on each side etc..). You than need to pinch the base of the shape, this will help the flower form a bowl shape as the petals won't sit flat on each other.

Curling around a skewer gives
 definition
The finished petal
Pinch the base of the petal, creating
a central fold 
Finished petals
Spiral at the center

Once you have shaped all the petals, its is time to assemble your bloom.
Starting with the short long piece we cut (but do not need to shape) place a line of glue along the bottom and twist it around a wooden skewer, creating a small spiral.


From now on its all about layering the petals - starting with the smallest shapes, glue the along the bottom and ensure each petal slightly over laps the previous one.

Take you time, and be careful as the glue can be very hot. Also allow each petal a few seconds before you add the next, to give the glue a moment to set and prevent the shape being moved.
As you build up the rose, you may find that also putting some glue along the fold (to about one 3rd along) will hold the petal in place a little more sturdily.


Place 2 of the rectangles either side
of the skewer
Add the other 2 rectangles at right
-angles
When you have finished layering you need to secure the base, to hold the bottom petals in place and prevent the flower from slipping down the skewer. Simply glue the four strips you cut, creating a square shape. Hold the rose upside down for about 5 minutes to allow the glue to dry, and again to prevent the shape shifting and dropping.

Pearl detail

For a final flourish, make a diagonal cut to the central spiral, add a drop of glue and place a (pearl) bead into the hole (width of the skewer)

I also wanted to share a method to make cute, small roses, that I discovered online


So there you have it, my attempt at turning Shakespeare's words into floral decorations - I have to say I LOVE them and now I just need to figure out how I can include them into my day, without it looking too much like a children's craft project exploded over the church.

Coming soon in 'Pages of Style': wreaths, confetti and bunting.

TTFN ~ Kate xx


Thursday, 5 July 2012

Pages of Style #2: Books in Bloom

Welcome to the first post looking at ways that I can turn pages from a Shakespeare play into beautiful decorations for me, and hopefully also inspire some of my wonderful reads to give paper crafting a go.


When I began the search for what I could do with old copies of the comedy, the first idea I came across was  to turn the pages into flowers; they offer a great range of options, especially as they would be suitable for both ceremony and reception.

Paper rose
made with individual petals
Clockwise from top right: 1) Carnation,
2)Big orchid style flower, 3) Lilies, 4) Tulips,
5) Daisy with buttons, 6) Little flowers with bead
7) Cone flowers

There are plenty of options if you want to include paper flowers in a wedding,
An early decision would be what type of flower you want to create; Do you want a real looking design or opt for a more styled choice? Are they going to take the place of all flowers, contrast or mirror you living choices? It is also worth considering how big you want your flowers: life-sized, mini, over sized or a mixture?

There are plenty of ideas and types of flowers online:
Roses, tulips, lilies,carnations, daisies, orchids - a bit of time and you can find a way to recreate most flowers.

You also need to consider available time and artistic ability, different styles and sizes would involve different techniques.


Roses
I really want to include roses during my wedding and I have discovered that there are 3 basic ways to create a rose from paper: By cutting and gluing individual petals, cutting and gluing a circular spiral and origami.
My handmade rose gift box.

A few weeks ago I wanted to make a rose as a decoration as part of a gift for a friend. At first I tried origami and I discovered a new level of confused.
I then tried the individual petal technique, with which I did succeed and was rather impressed with the result.
This rose was made from white printer paper, which I then painted with a creamy/white paint and sprinkled with glitter. I finished it with a couple of leaves made from glitter paper with a green tinge.

Alternative ways to make paper roses:
 1) Swirly Rose made from a continuous piece of paper. 2) Origami Rose
How to include paper flowers
 As I'm getting married in winter the paper option is quite appealing as it could save lots of money on out of season flowers, although I will have to careful as they can be very time consuming to make. There are many ways which paper flowers can be included during a wedding; from the traditional floral displays: on tables in the reception, pew ends, windowsills, on the altar or arch over the door in the church and as personal flowers in bouquets, buttonhole or even in the brides or bridesmaids hair. You could give them to guest as part of their place settings, as favors. 


Ways to include paper flowers: 1) Floral decoration in vase, 2) Colourful bouquet of mixed flowers,
3) Book table center with Rose and Lily, 4) Gift boxes decorated with various paper flowers

Paper rose decoration ideas: 1) Rose button hole 2) Rose hairclip 3) beautiful bouquet 4) personalised gift bags

Stylised Rose using a mix of papers
For my final pictures, I wanted to share with you two twists on the book page rose:  A beautiful fluffy rose with jewel center, made from books, sheet music, plain and decorated paper - I could see this making a lovely alternative corsage for Mum/sisters or as a hair piece for a bride or bridesmaid.
Colour stained Roses


The second being these stunning coloured roses, I assume they have simply run the cut edges over an ink pad to create the stain and then
assembled the rose as normal.

I have to say I have found this post blooming marvelous (groan...) to research and compose - there are so many beautiful creations and ideas out there, for the style of flower and their uses; I could have continued on for days.


I guess my task now is to go away and have a go, I want to try and make some big (ish) roses from book pages to see how they turn out - I will share my results and maybe my method (if it's successful) with you soon.

TTFN ~ Kate xx